How do you solve a Rubiks Cube? You’re in luck if you’ve ever wondered how to solve a Rubiks cube.
Where to start? Just sit back and enjoy this blog until the end. This blog will help you conquer the 3×3 Rubik’s Cube, whether you are a novice or if you have some experience.
How to Solve a Rubik’s cube in 7 Easy Steps
Step 1. – Make a Daisy
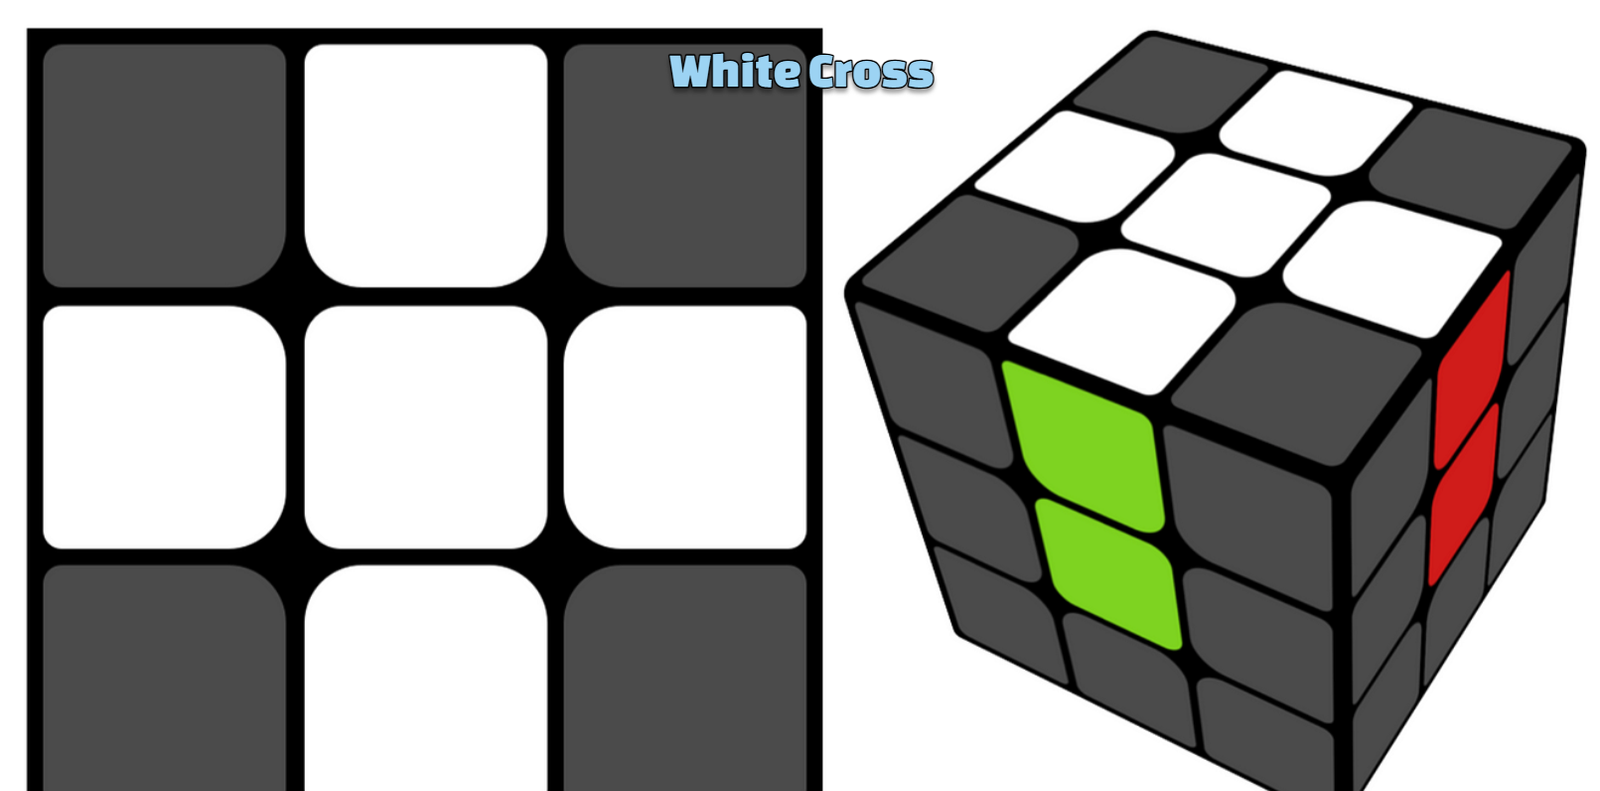
Step 3 – Make a White Cross
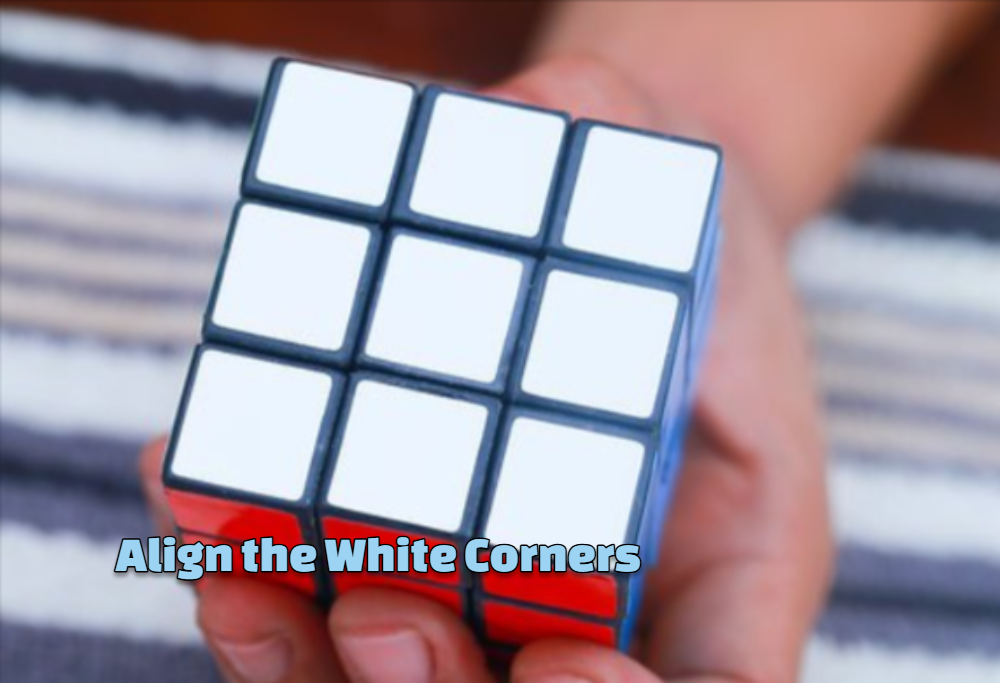
Step 3. Align the White Corners
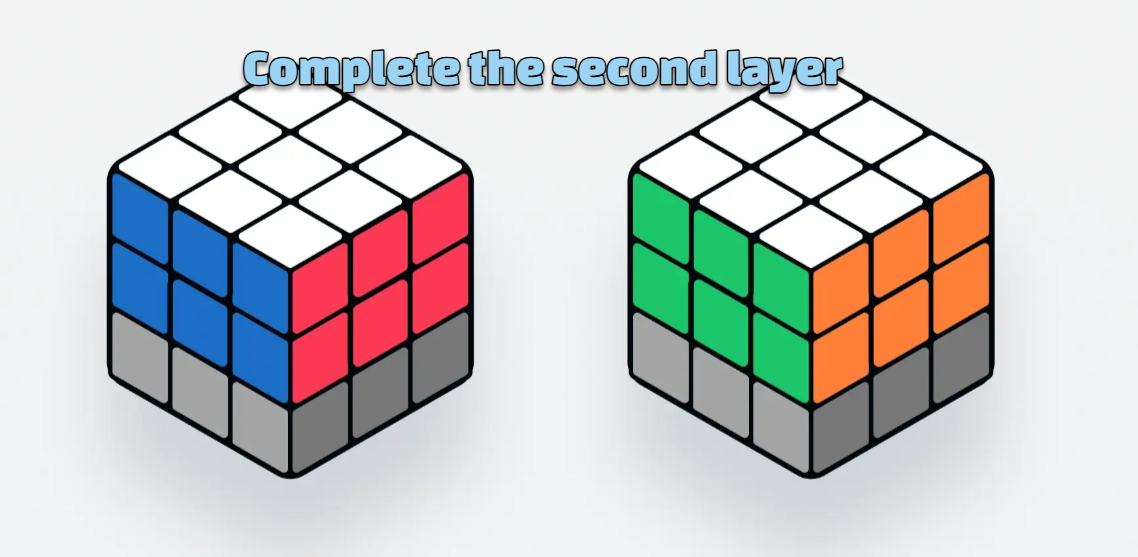
Step 4 Complete the Second Layer
Step 5: Get the Yellow Cross
Step 6 Complete the Yellow Face
Step 7– Completion
Step 1. Make a Daisy
It is important to have four pieces of white around the yellow center.
White and yellow are on opposite sides. If white is at the top, then yellow will be on the bottom.

Create the Daisy –
- Place the yellow side up.
- Next, you will need to add 4 pieces of white around the piece.
- Imagine that the white pieces are the cars, and the yellow center is the house.
- Continue to turn the faces until you have a white edge on both sides of the yellow center piece.
You can read about the types of Rubik’s Cube to find out more.
Step 2. Make a White Cross
After you’ve created the daisy flower, your next step is to create a cross in white with two colors matching on either side.

- At this point, the daisy will be at the top.
- The top of the cubicle looks like a daisy with four petals. Focus on the color of these petals on all four sides.
- You will now need to apply the same color on all four sides.
- Start by choosing the color of the front.
- Then, turn the layers 2 and 3 until the color you want is under the second layer.
- Flip the green side over to bring it down.
- One of the pieces white will move to the opposite side.
- Repeat the process with the rest of the white pieces.
- The white cross will appear when you turn the cube.
- On all four sides, the four corners of the white cross touch two colors that match.
Step 3: Align the White Corners
The next step is to align the corners of the white cross with the white cross.

- Find the four corners that are white on the cube.
- First, align the corner piece with one of the white pieces by twisting and moving it. Then, bring the two pieces together to the top.
- Continue in the same way and place all of the white corners at the top.
- You have now completed the first face of the cube.
- You should be able to align the first four layers of the faces perfectly by the end of this stage.
Step 4: Complete the second layer
- Bring the yellow face to the front.
- Find the pieces that are centered around the yellow color.
- Focus on two of the pieces at the top – the first on the face of the front and the second on the face of the top. Mark the pieces that are not yellow.
- You can turn the face in both directions to find the right arrangement of colors. Make sure the yellow side faces you.
- The yellow side should not be disturbed.
- Then, find the color that touches the edge of the T on the front.
- Find your side
- Left is the keyword if its side is to the left.

- The next movement will be based on a formula called ABCDEF.
- A is Away from Keyword (in this instance left). The face is now turned away from the left.
- The bottom layer is B (turn it to the left). The bottom layer is turned to the left.
- Column is represented by C. The left Column is now lowered.
- D stands for Delicious Sandwich. The second layer of this cube is oriented to the left.
- It means everything goes up. The left column, which was previously lowered, will now be raised.
- F stands for Fix Your Whites. Return the white to one side.
- The same procedure applies after you have fixed the white side.
- The yellow side should be facing you.
- Find the pieces of focus that are not yellow.
- Make a T.
- Continue with ABCDEF after you have determined the keyword.
- Continue until the two top layers and the white surface are completely covered.
- Then, fix the yellow face and the third layer.
Step 5: Get the Yellow Cross
F.U.R. and U.R. is the formula to get the yellow cross. F
These are the movements of the cube’s layers and columns in a clockwise or counterclockwise direction.

F.U.R is Front-Up (Top). Right moves clockwise.
The U.R.F. moves the front in an anticlockwise direction.
- Turn the cube over so the yellow side is on top.
- Follow the instructions to complete the FURURF.
- Repeat this until you see the yellow cross.
Step 6: Complete the Yellow Face
This formula is clock – clock – counter. The next step is clock, clock flip, counter.
The top layer, with the yellow face on the right column, is rotated alternately clockwise twice and counterclockwise once.

It’s important to memorize these nine steps to solve corners. Be sure you can recall them perfectly, even if you are jumping around on your bed in the dark.
- Counter Clockwise is also known as Flip Counter Clockwise
- Counter, Counter, Flip
This will follow the movement of Right-Front-Right-Back.
- Use your right hand and left thumb to move the column and layers.
- Turn the right column anticlockwise
- The front face should be turned clockwise
- Turn the right column anticlockwise
- The backside is now reversed.
- Turn the right column counterclockwise
- The front face is flipped counterclockwise
- Turn the right column anticlockwise
- The backside is now reversed.
- The right side should be turned counterclockwise
Continue until the entire face is yellow.
Step 7: Completion
The third layer is then matched after the yellow face.
The next pattern is Flip-Clock-Clock-Clock. Then, 5 times counter – clock for once – counter again.
It goes like this:
- Flip – right side down
- Clock – top side
- Clock on the right side
- Clock – top side
- Counter – Right Side
- Counter – Top Side
- Counter – Right Side
- Counter – Top Side
- Counter – Right Side
- Clock – top side
- Counter Right Side
Continue until all sides are in agreement.

This process can have two possible outcomes. At this point, you can tell if you’re going to have the last laugh, or sighing and starting over.
You have now learned how to solve a Rubik’s cube.
You can now solve the colorful puzzle that seemed impossible to you before! You will be able to impress everyone with your cube solving skills if you practice and persist.
Remember that it’s not all about removing the colored stickers from the cubes. It’s more about learning to be persistent and find solutions. Click here to read about the benefits of solving Rubik’s Cube
Don’t be discouraged by your initial failures. Continue to explore and twist.
You can memorize the algorithms by understanding them. You will be successful if you learn and memorize the algorithms.
Join a group of cubers. Encourage your family and friends to also solve the puzzle.
Continue to push your limits and take on new challenges!
You should now know how to solve the rubiks. Rubik’s Cube Classes online is a great way to learn how to solve Rubik’s Cubes under the guidance and instruction of experts.
